Key points
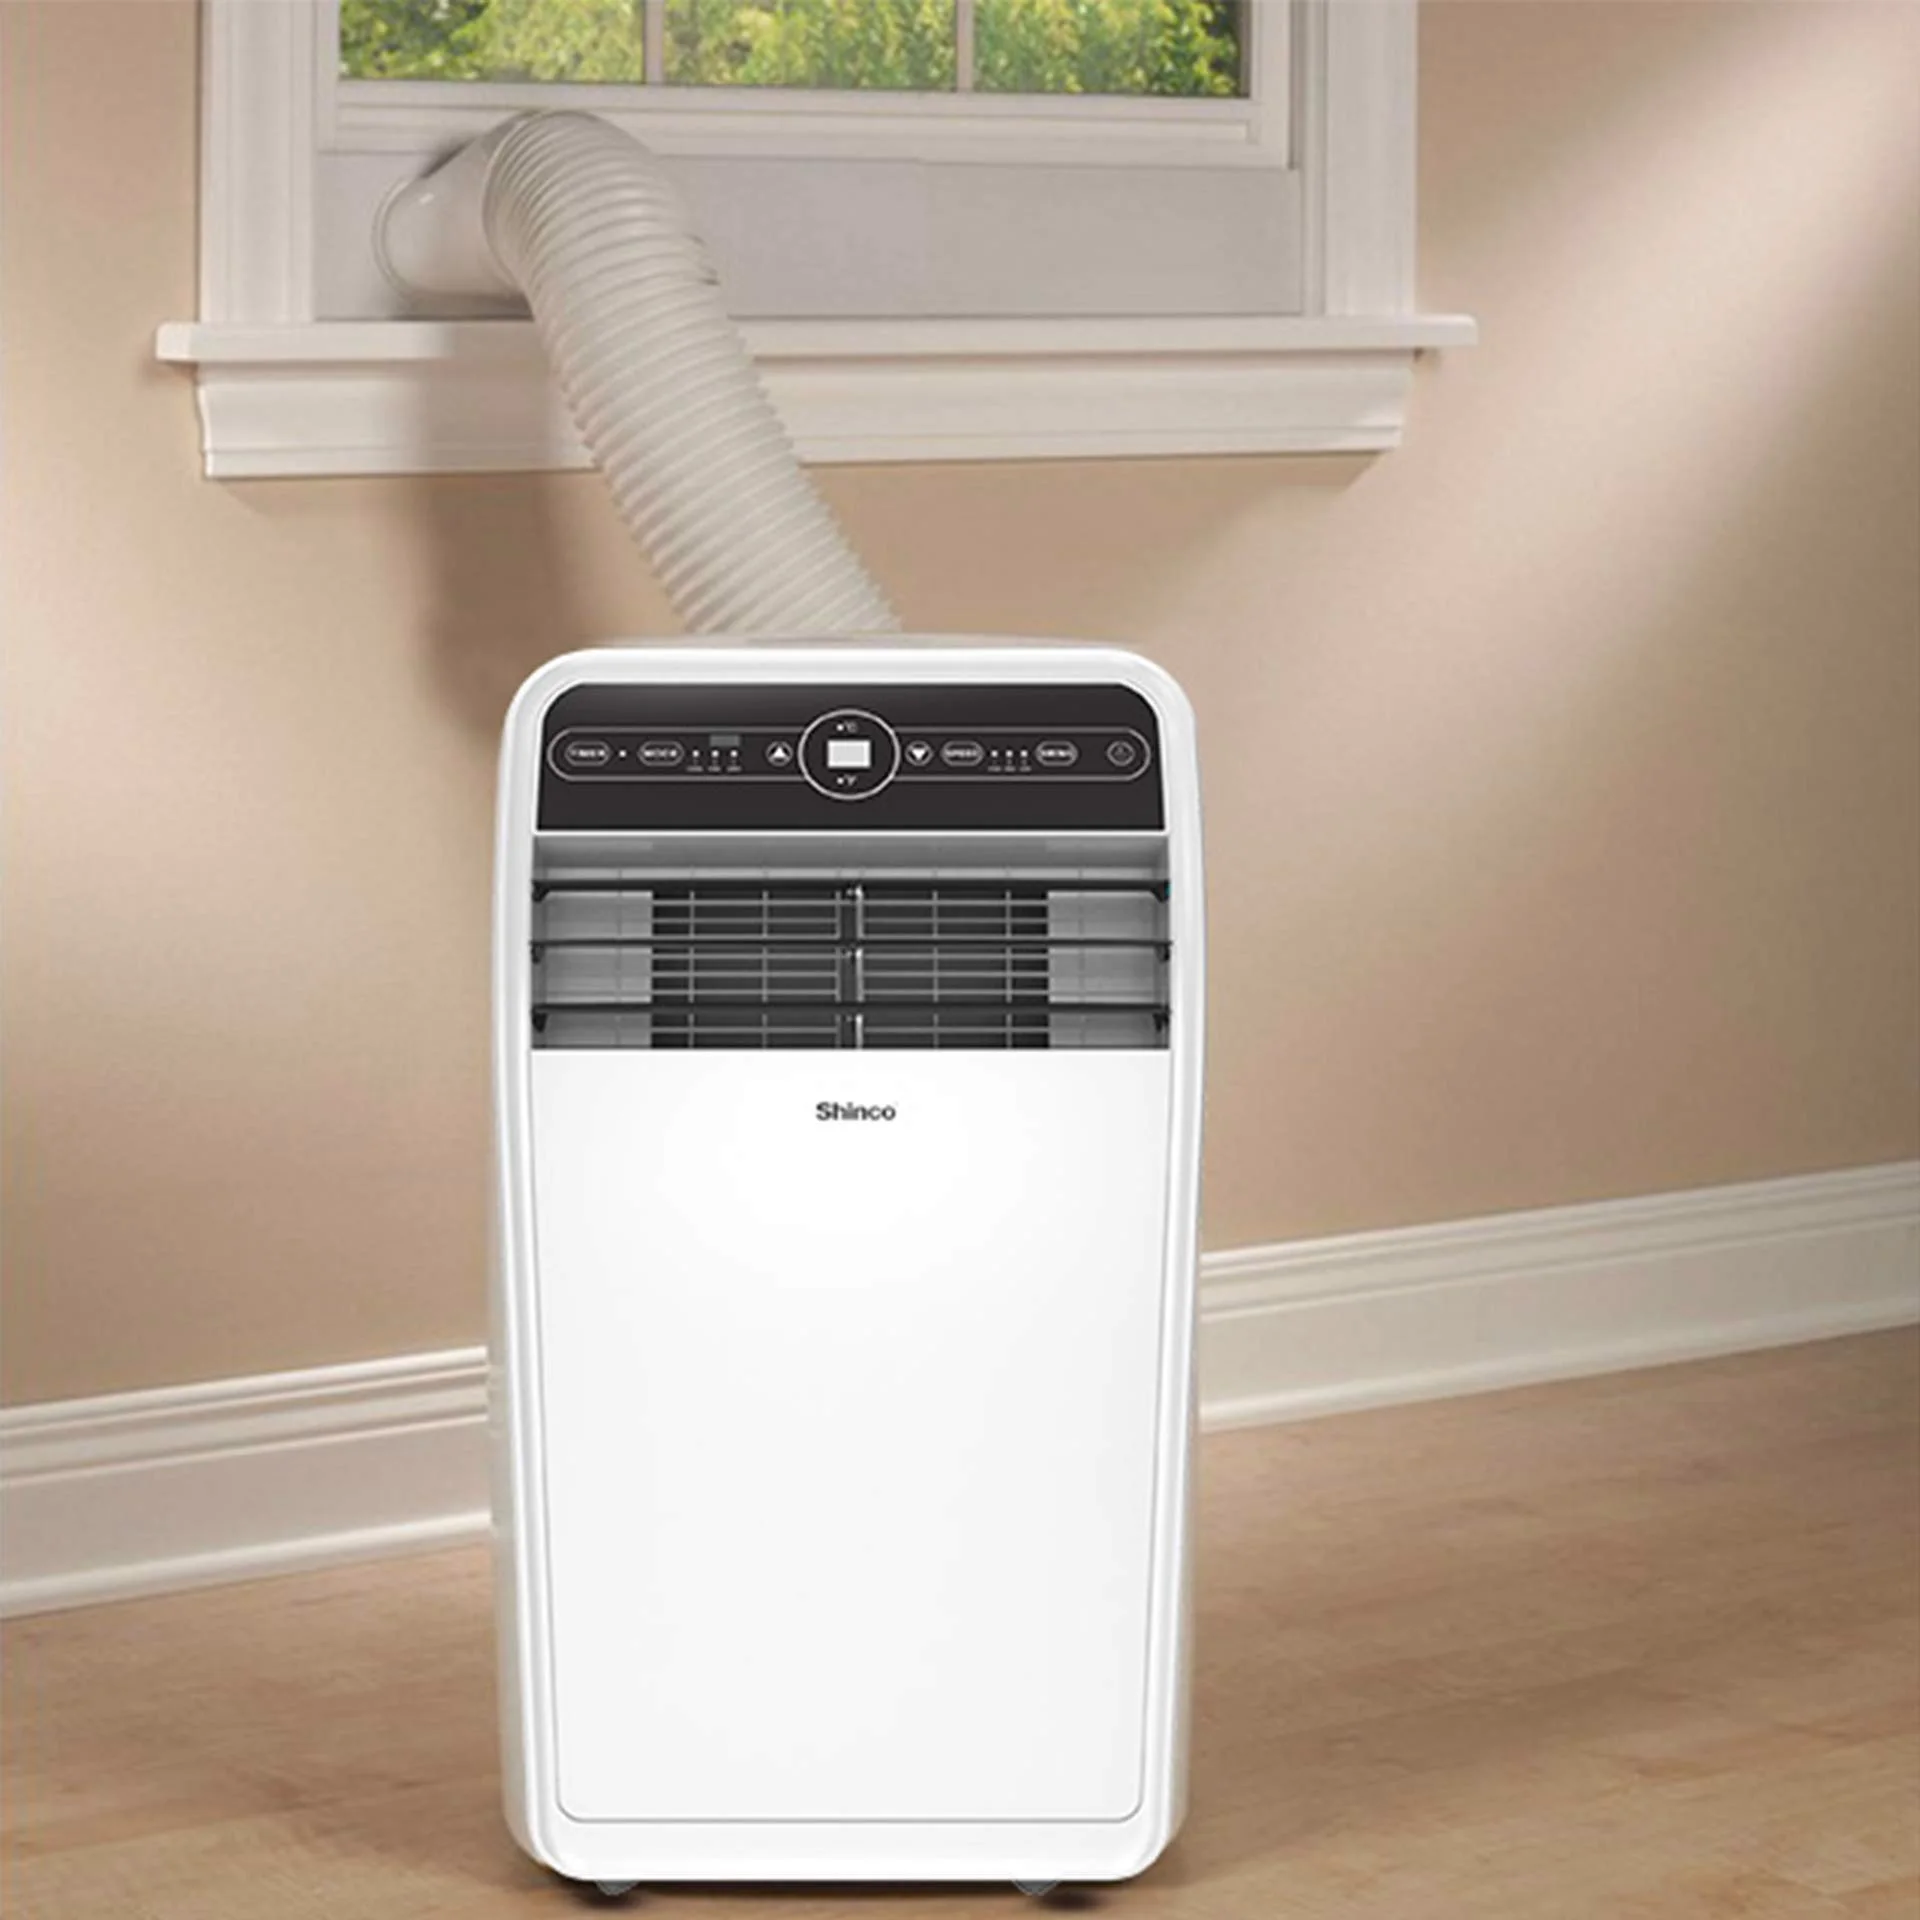
- Every Shinco portable AC ships with a 59-inch telescopic hose and a kit for sliding windows.
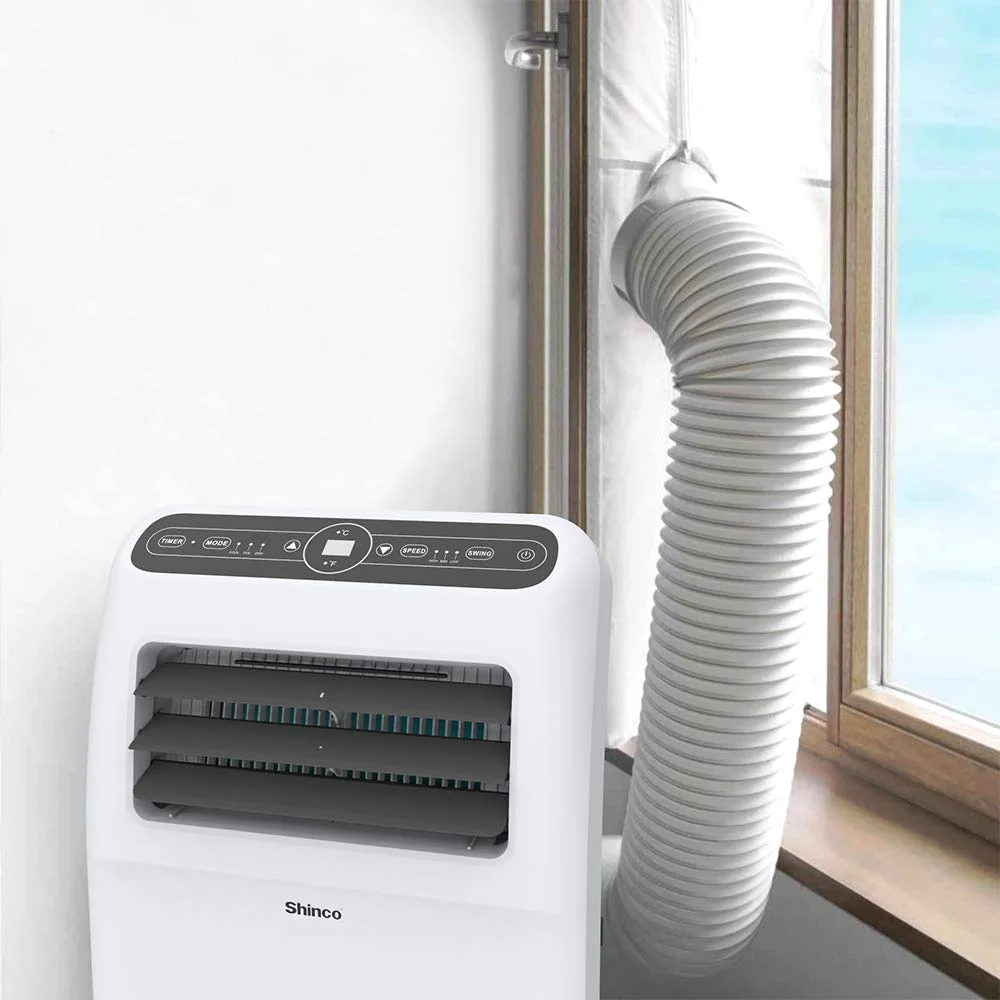
- A crank, casement or tilting window takes a fabric seal instead of the slider kit.
- Keep the hose short and without sags: it carries hot air out of the room.
- Plug the unit straight into a wall outlet, never an extension cord or a power strip.
- The SPF series evaporates its water through the hose, so most days there is no bucket to empty.
What comes in the box
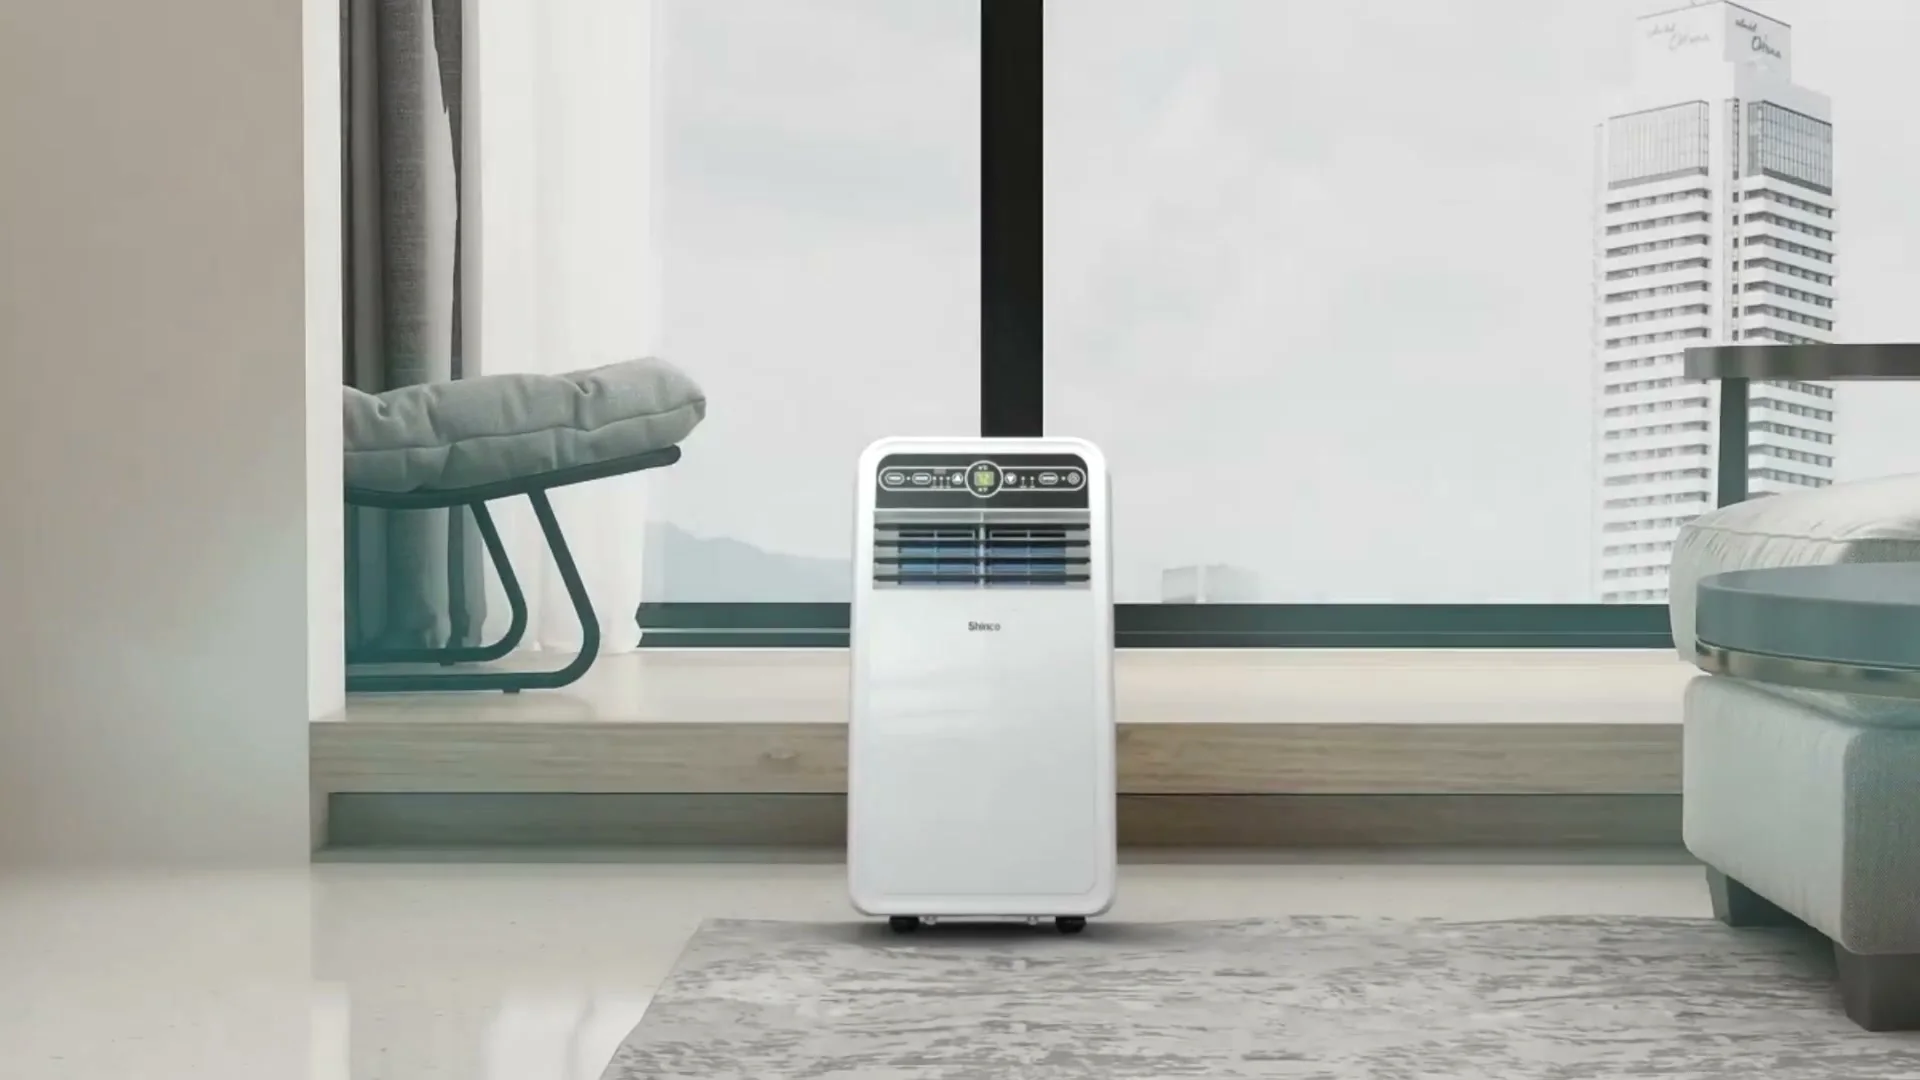
Each Shinco portable air conditioner ships with the parts to set it up in a sliding window: the unit, a remote control, a 59-inch telescopic exhaust hose, and a window kit with the adapters that join the hose to the unit and to the window panel. No tools are needed for the standard setup.
Before you open the box, choose the spot. The unit needs a window within reach of the hose, a wall outlet within reach of its cord, and a little space around it so air can move in and out. Rolling it into place on its four casters is easy. Finding out that the outlet sits on the far wall is not.
| Unit | Size (D × W × H) | Power | In the box |
|---|---|---|---|
| SPF1 12,000 BTU Portable Air Conditioner | 13.39 × 17.44 × 32.68 in | 115 V outlet | 59-inch hose, slider kit, remote |
| SPF2 Portable Air Conditioner | 13.46 × 14.69 × 26.93 in | 115 V outlet | 59-inch hose, slider kit, remote |
| SPF2 Portable Air Conditioner with Heat | 13.39 × 17.44 × 32.68 in | 115 V outlet | 59-inch hose, slider kit, remote |
| SPU2 14,000 BTU Portable Air Conditioner with Heat | 15.4 × 18.5 × 32 in | 120 V outlet | 59-inch hose, slider kit, remote |
| SPU2 14,000 BTU Portable Air Conditioner | 15.4 × 18.5 × 32 in | 120 V outlet | 59-inch hose, slider kit, remote |
Sliding and hung windows
The slider kit is a panel that fills the open part of a window, with an opening for the hose. On a window that slides sideways, open it, set the panel in the gap and slide the window closed against it. On a window that slides up and down, the panel stands across the bottom of the opening and the lower sash comes down on top of it. Adjust the panel to the width of the opening so it fits snugly, then fit the hose adapter into its opening.
Check the edges once the unit is running. A gap at the end of the panel lets warm air back in, and a portable unit already works against the warm outdoor air it draws into the room, which is part of why its DOE seasonal rating sits below the ASHRAE figure. Every gap you close helps it reach the temperature you set.
Crank, casement and tilting windows
The slider kit only works on a window that slides. A crank window swings out on a hinge and leaves a tall, narrow gap with nothing to close against the panel. For those, and for windows that tilt in, use a fabric seal: the Shinco window seal fastens around the frame with hook-and-loop strips and opens around the hose with a zipper.
It fits windows with a perimeter up to 157.5 inches (400 cm), opening to the left or the right, bottom-hung windows and skylights. You can open and close the window with the seal in place, and take it down at the end of the season. It does not fit sliding windows or doors.
The hose: short, straight, sealed
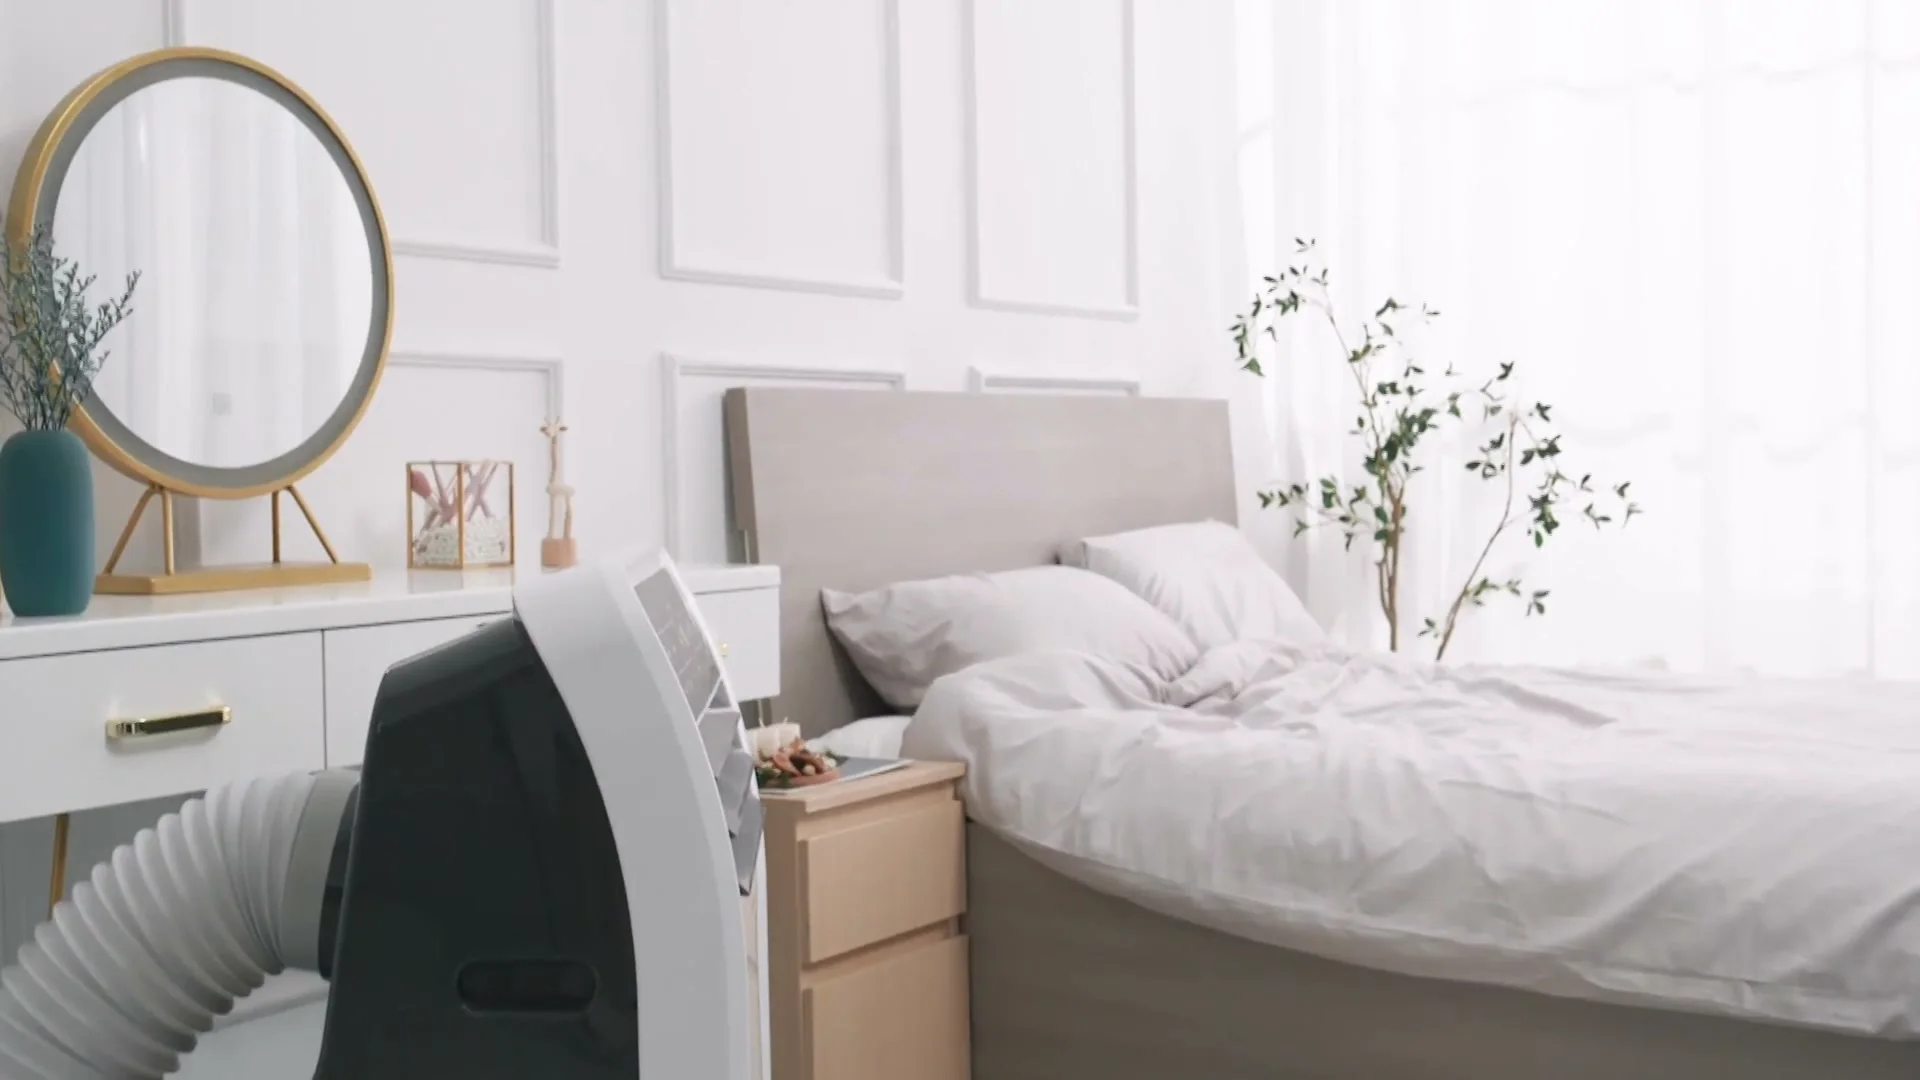
The exhaust hose carries the heat of your room outside. Pull it out only as far as it needs to go: the 59-inch hose is telescopic, so a unit right by the window uses a short run. Keep it without sags or kinks. A hose that dips toward the floor and climbs back up makes the unit work harder to push the hot air out.
Make sure both ends click into their adapters. A loose end at the window blows hot air back into the room, and a loose end at the unit leaks it right beside you.
Power: straight into the wall
The Electrical Safety Foundation International says never to use extension cords or multi-outlet converters for appliances, and that every major appliance should be plugged directly into a wall outlet. A portable air conditioner is a major appliance: it draws heavy current for hours, day after day. Shinco units run on a standard household outlet, 115 volts on the SPF series and 120 on the SPU2.
If the cord does not reach the outlet, move the unit, not the outlet. If a room has only one outlet and it already carries a computer and a lamp on a strip, give the air conditioner the wall outlet and move the rest.
Placing the unit in the room
Set the unit on a level floor within reach of the window, so the hose runs as short as the setup allows. It rolls on four casters: try a spot, fit the hose, and move it a foot closer if the run looks long or the hose starts to sag.
Keep the grilles clear. A curtain hanging over the side of the unit, a bed skirt or a stack of boxes against the back cuts the air it draws in and pushes out, and the room cools more slowly. The remote works up to 23 feet away, so the unit does not have to stand by the bed for you to set it from there.
The first hour of cooling
With the kit in the window and the hose clicked into both adapters, close the window on the panel and switch to Cool. Give the room an hour before you judge it: the air cools first, and the walls, the furniture and the floor give up their heat more slowly.
While the unit runs, pass a hand along the edges of the panel. Warm air at a gap means outdoor air is coming in, and closing it helps the unit reach your setting. The 24-hour timer can start the unit before you come home on a hot day, so the room is already cool when you open the door.
Water, and what to do in fall
In cooling and Dry mode, the SPF2 and the SPF1 evaporate the water they collect and send it out through the exhaust hose, so on most days there is no bucket to empty. Before you store it, follow the manual of your unit to drain and dry it.
At the end of summer, take the window kit down, store it with the hose, and roll the unit into a closet. Our BTU guide explains which size to buy for next year's room, and the portable air conditioner shelf has every unit with its kit.
Every unit named here is part of the Shinco lineup.